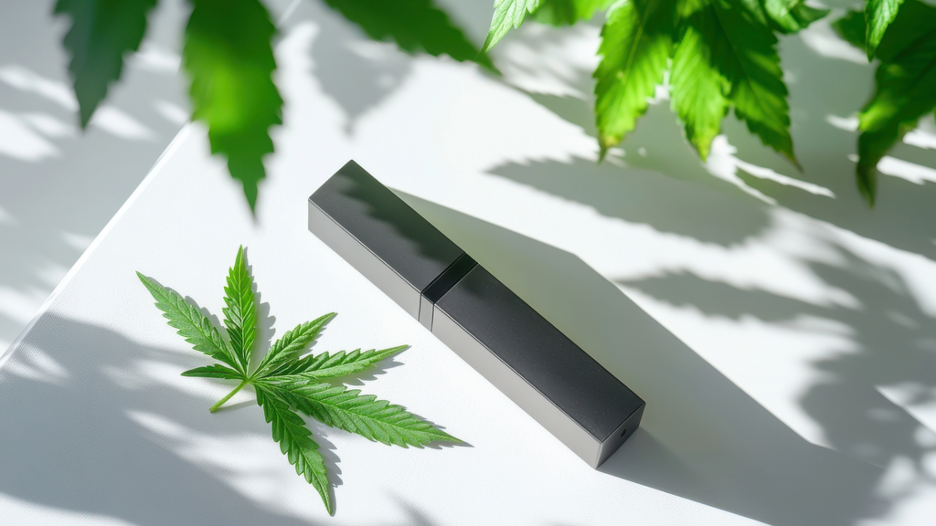
Welcome to the wonderful world of dry herb vaporization. If you’re just dipping your toes into this space, you’ve probably heard all the buzz: it’s cleaner, it tastes better, and it’s a super-efficient way to enjoy your favorite herbs. You’re ready to take the plunge, but a quick online search hits you with a hundred different devices, each with its own confusing list of features. Don’t sweat it!
We’ve all been there. Choosing your first dry herb vaporizer shouldn’t feel like rocket science. It’s all about finding the right tool for your personal needs. Think of this as your friendly, casual guide to understanding the anatomy of a perfect hit—and how to choose the quality device that will deliver it every time.
Why Vaporize? The Big Difference
Before we dive into the hardware, let’s quickly cover why you’re making the switch.
When you smoke, you burn your herb (combustion), which creates smoke, ash, and a whole lot of byproducts you probably don’t want to inhale.
A dry herb vaporizer, on the other hand, heats your herb to a precise temperature, releasing the active compounds (cannabinoids and terpenes) as a clean, flavorful vapor. The temperature is controlled—it’s hot enough to release the good stuff, but not hot enough to cause combustion.
This means:
Better Flavor: You can actually taste the subtle notes of your herb.
Smoother Experience: The vapor is generally much easier on the lungs and throat than smoke.
Greater Efficiency: You use less herb for the same (or even better) effect.
Knowing the Parts: The Vaporizer’s Anatomy
Every dry herb vaporizer, from the sleekest portable to the bulkiest desktop unit, has a few core components working together. Knowing these parts helps you understand what you’re buying.
The Oven (or Heating Chamber): This is where you put your ground herb. It’s typically made of stainless steel, ceramic, or glass.
The Heating Element: This is what generates the heat. It’s the engine of the device.
The Battery/Power Source: For portable vapes, this is a rechargeable battery (sometimes removable, sometimes fixed). For desktop vapes, it’s a wall plug.
The Airflow Path: The channel the vapor travels through from the oven to your mouth. A good path is often made of glass or ceramic, isolating it to keep your vapor clean and tasty.
The Mouthpiece: The part from which you draw. Glass mouthpieces are popular because they offer the purest flavor.
The Great Debate: Conduction vs. Convection
This is the most crucial distinction for beginners, as it determines how your device works and the type of hit you’ll receive.
Conduction Heating (The Frying Pan)
How it Works: The herb makes direct contact with a hot surface (the walls of the oven), like cooking in a frying pan.
Pros for Beginners: They tend to be more affordable, heat up very quickly, and often produce thicker, denser clouds from the start.
Cons: Since only the herb in contact with the walls receives the most heat, you may need to stir the bowl halfway through your session for more even vaporization. It can also be a little less flavor-focused than convection.
The Ideal Hit: A fast, quick hit with a noticeable, dense cloud.
Convection Heating (The Oven)
How it Works: The herb is heated indirectly by a stream of hot air that passes through it, like baking in an oven with a fan. There’s no direct contact with the hot element.
Pros: It provides incredibly smooth, even vaporization, meaning no stirring is needed, and you get maximum flavor.
Cons: Convection vapes are often more expensive and take a little longer to heat up.
The Ideal Hit: A long, slow, flavorful draw that maximizes the purity and taste of your herb.
Hybrid Heating (The Best of Both)
How it Works: Uses a combination of both conduction and convection for balanced performance.
Why Choose It: Gives you the quick heat-up of conduction with some of the evenness and flavor of convection. It’s often a great middle ground for a first-timer.
What to Look for in a Quality First Device
Now that you know the basics, here’s a checklist for picking a device that won’t let you down:
✅ Portability and Size
Do you want to use it mostly at home (you can go bigger!) or do you need something pocket-friendly for on-the-go sessions? Most beginners start with a portable vape for convenience, such as the portable vaporizer product line by Storz & Bickel, the creator of the desktop OG vaporizer, the Volcano.

✅ Temperature Control
Preset Settings (Simple): The vape has a few fixed temperatures (e.g., low, medium, high). Great for beginners who want simple operation.
Precision Control (Advanced): Let’s you adjust the temperature degree by degree. This is great for experienced users who want to fine-tune the flavor and effect, but it can be overwhelming for a first-timer.
Tip for Beginners: Look for a device with preset settings or one that offers simple, one-button operation. It takes the guesswork out of the session so you can focus on enjoying the vapor.
✅ Battery Life
For portable units, look at the stated battery life (often measured in mAh or by how many “sessions” it lasts). If you plan to use it frequently away from a charger, look for a longer-lasting battery or, even better, one with a removable/replaceable battery, allowing you to swap out a fresh one when needed. USB-C charging is a significant advantage, offering faster charging times.
✅ Ease of Cleaning
Vaporizers require maintenance! If a device looks overly complicated with tiny, hard-to-reach parts, cleaning will become a chore. Look for simple, open-design ovens and mouthpieces that are easy to wipe down with a cotton swab and a little isopropyl alcohol.
✅ Vapor Path Material
Avoid anything that passes the vapor through cheap plastic or silicone. Glass, ceramic, or stainless steel are the gold standard for a clean vapor path that preserves the flavor of your herb.

The Perfect Hit: A Quick How-To
Once you get your device, follow these steps for that perfect first hit:
Grind it Right: Use a grinder to achieve a medium to medium-fine consistency. This helps the heat flow evenly.
Pack it Correctly:
Conduction: Pack it fairly firmly, but don’t jam it so tightly that air can’t pass through.
Convection/Hybrid: Pack it loosely to allow the hot air to circulate.
Choose Your Temperature: Start low (around 350°F / 175°C). This gives you the best flavor. As the session continues, you can bump it up to a mid-range (385°F / 195∘°C) for more vapor and more potent effects.
Inhale: Wait for the device to reach the desired temperature (it will usually vibrate or display a light). Take a long, slow, steady draw (like sipping a thick milkshake) for 5 to 10 seconds.
Exhale and Enjoy: You may notice less visible vapor than smoke—that’s normal! The effects will still be there.
World of Smoke and Vape has you covered when it comes to dry herb vapes!
Choosing your first dry herb vaporizer is an exciting step! Don’t let the technical terms intimidate you. By focusing on the basics—Conduction vs. Convection, good battery life, and simple operation—you’ll easily find a high-quality device that fits your lifestyle. Please stop by one of our local smoke and vape shops and chat with our expert staff. They’ll point you in the right direction and help you choose the best dry herb vape for you.