Alright, fellow connoisseurs and kitchen witches! Halloween is among us, which means it’s time to move beyond the store-bought gummies and mass-produced mystery brownies. This year, we’re leveling up the holiday with DIY Cannabutter, turning those festive treats into truly elevated experiences.
You’re not a beginner. You know that consuming cannabis is a marathon, not a sprint, and that edibles hit different. So, we’re skipping the basic melt-and-stir methods and diving straight into the deep end—where potency, flavor, and precision matter most.
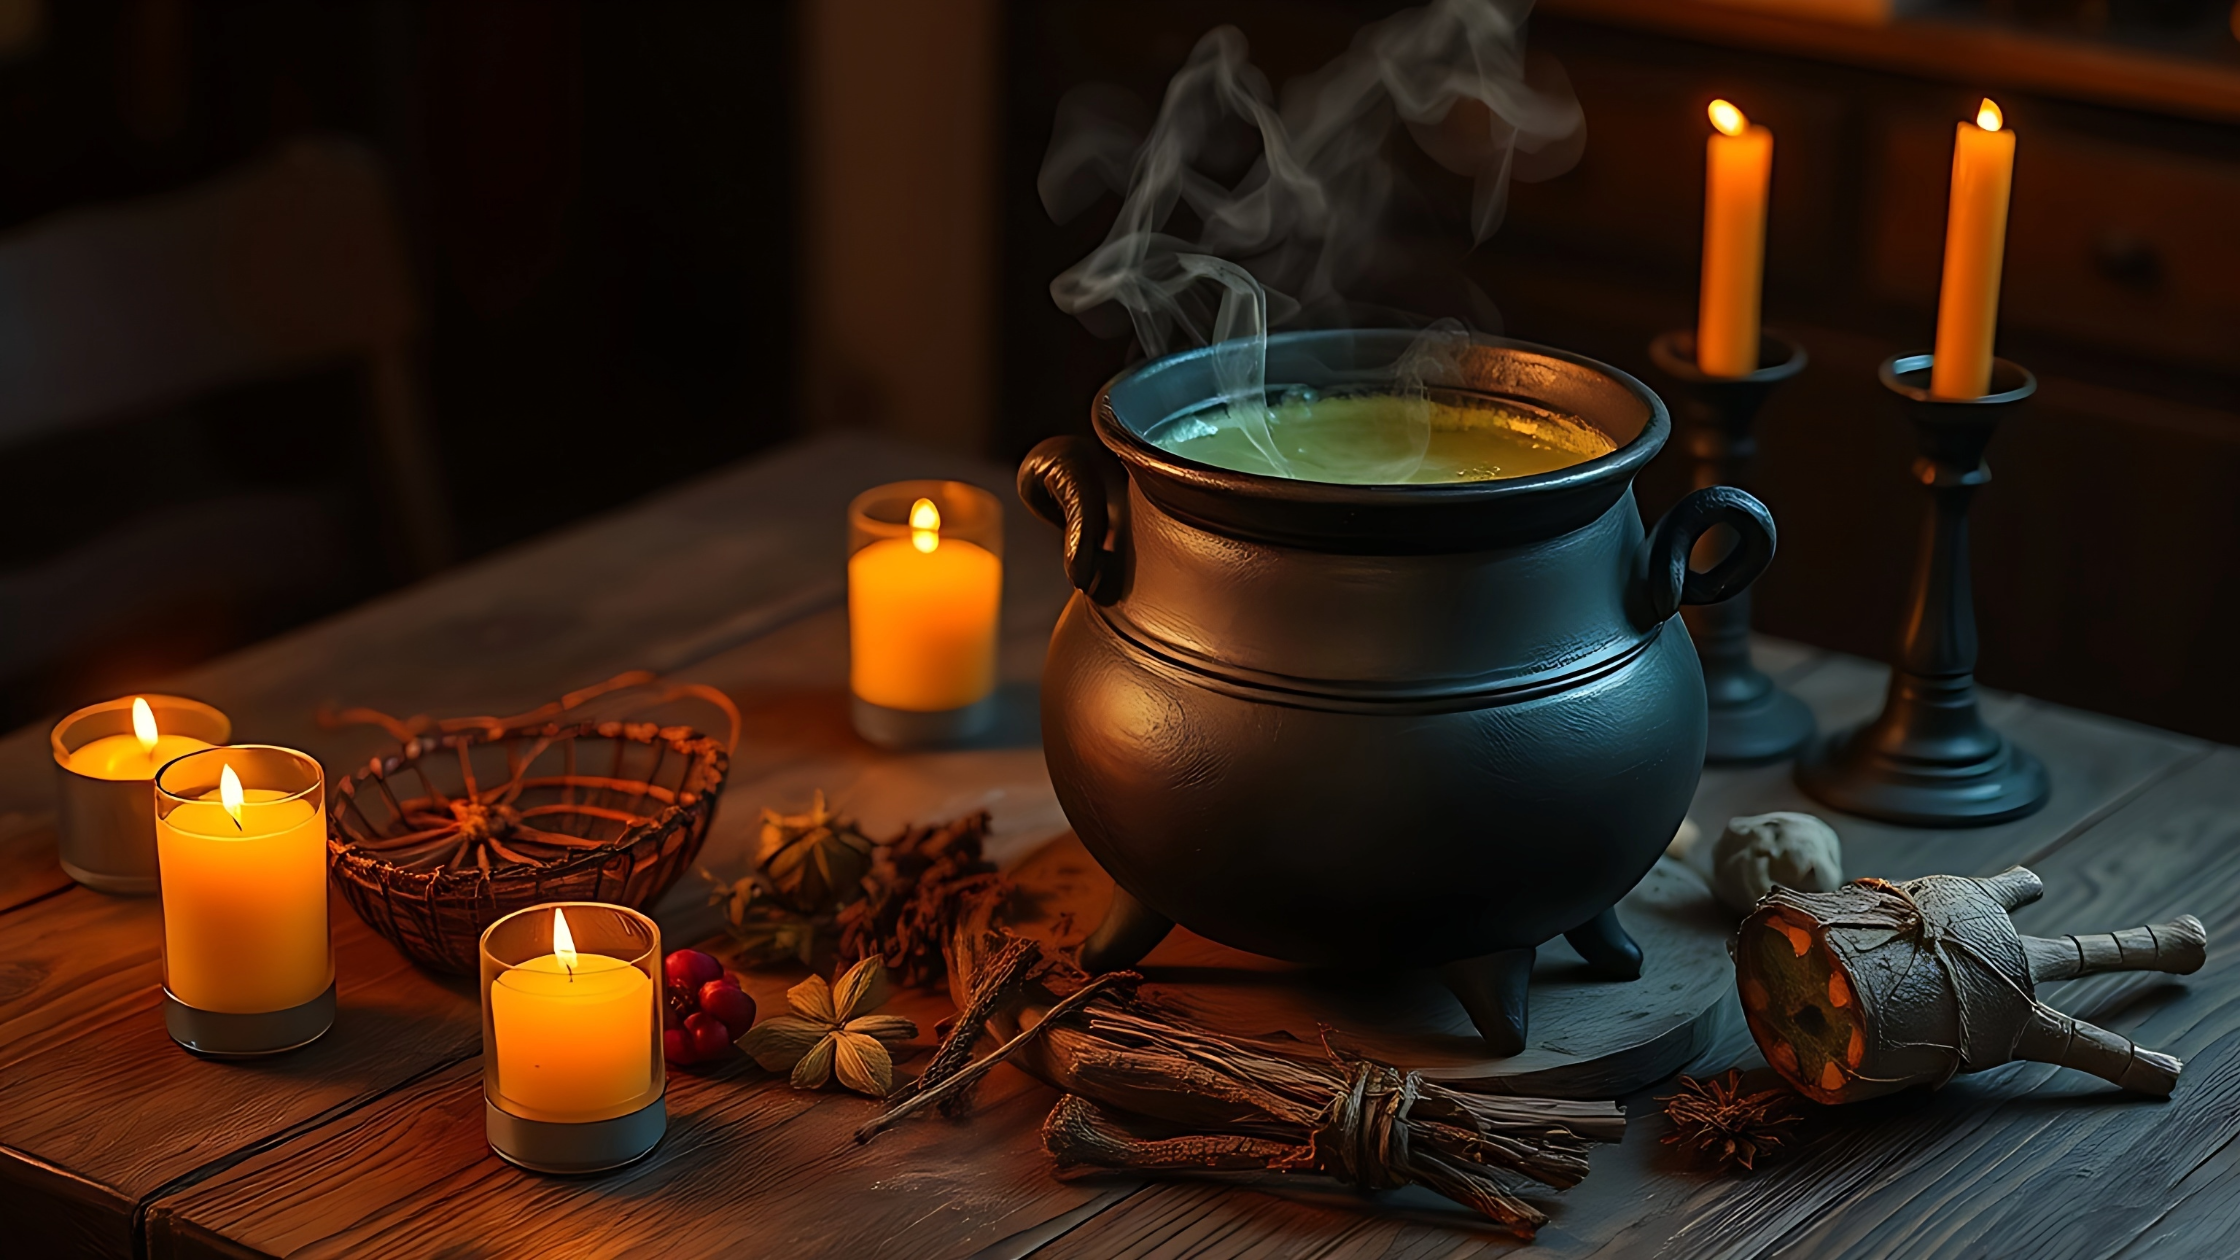
Welcome to the World of Smoke and Vape advanced kitchen course. Get ready to summon some seriously spooky holiday butter.
Phase 1: The Potency Portal—Mastering Decarboxylation
This is the non-negotiable step. If you skip this, your spooky cookies will just be… regular cookies with a grassy taste. Decarboxylation (“decarbing” for short) is the alchemical process of applying low, slow heat to convert the inactive cannabinoid acids (THCA and CBDA) into the psychoactive compounds we all know and love (THC and CBD).
The Advanced Edge: We’re not just throwing it in the oven. We’re maximizing conversion while preserving those precious terpenes (the aroma and flavor compounds).
What You’ll Need:
- Your Flower: About 7–14 grams (or 1/4 to 1/2 ounce) of your favorite strain. The strength of your flower directly dictates the strength of your butter. Know your strain’s THC/CBD percentage!
- A Precision Grinder: Don’t turn it to dust! Use a grinder (or your hands) to break the flower into small, even pieces—the consistency of coarse, dried oregano. Too fine, and you’ll end up with murky, bitter butter.
- Equipment: Baking sheet, parchment paper, and a trusty OVEN THERMOMETER (this is key, as most ovens lie).
The Ritual:
- Preheat with Precision: Set your oven to 240°F (115°C). Trust your oven thermometer, not the dial. This low temperature preserves more terpenes. This step is not to be rushed, as it locks in the cannabinoids, ensuring the potency of your cannabutter. Spread and Bake: Spread your coarsely ground cannabis evenly across the parchment-lined baking sheet.
- Low and Slow: Bake for 30 to 45 minutes. The flower should change from bright green to a light golden-brown and feel dry and crumbly. Stir gently halfway through to ensure even heat distribution.
- Cool: Remove from the oven and let it cool completely. This locks in the cannabinoids.
Phase 2: The Infusion Incubator—Low & Slow
Now that your cannabis is activated, it’s time to bind those cannabinoids to fat. Cannabinoids are fat-soluble, which is why butter (or coconut oil) is the perfect vehicle.
The Advanced Edge: We’re adding water and keeping the temperature seriously low. This prevents the butter from scorching (which destroys THC) and helps leach out undesirable chlorophyll, leading to a cleaner flavor.
What You’ll Need:
- Butter: 1 cup (2 sticks) of unsalted butter (High-fat European style works great).
- Water: 1 cup of water.
- Equipment: A saucepan or, ideally, a slow cooker/Crock-Pot (for maximum temperature stability), and a Candy/Instant-Read Thermometer.
- Optional Power-Up: 1 tablespoon of Sunflower Lecithin per cup of butter. This powerful emulsifier helps the cannabinoids bind to the fat, potentially increasing bioavailability and potency.
The Ritual:
- Melt and Mix: In your saucepan or slow cooker, combine the butter and water over the lowest possible heat. Once the butter is melted, stir in your cooled, decarbed cannabis. If you’re using lecithin, add it now.
- Temperature Control is Everything: Maintain a temperature between 160°F and 180°F (71°C to 82°C). This is crucial as exceeding 200°F can degrade your precious THC. If using a slow cooker, use the ‘Keep Warm’ or lowest setting to ensure a gentle, consistent heat. The Steep: Let the mixture simmer (tiny, gentle bubbles—no rolling boil!) for 2 to 3 hours. Stir gently every 30 minutes. If the water level drops too much, add a little more to prevent scorching.
- Golden-Green Goodness: You’ll know it’s ready when the top layer of butter has taken on a rich golden-green hue and the liquid has reduced slightly.
Phase 3: Filtration, Separation, and Storage—The Purification
The infusion is done. Now for the crucial step that separates the smooth, buttery gold from the swampy, chunky mess.
What You’ll Need:
- A Fine Mesh Strainer: Lined with several layers of cheesecloth (or a new, clean coffee filter).
- A Heatproof Bowl/Container: For the final butter.
- A Spatula.
The Ritual:
- Gravity is Your Friend: Set the strainer/cheesecloth over your heatproof container. Carefully pour the butter mixture through the strainer.
- The Wait: Let the butter drain through naturally. Do not squeeze the cheesecloth! Squeezing forces excess plant matter and chlorophyll (the green, bitter stuff) through, which degrades flavor. We are advanced; we value quality over a few extra drops. Patience is key here. The Chill: Once strained, discard the spent plant material (the “pulp”). Place the container in the refrigerator, uncovered.
- The Separation: As the mixture cools, the cannabutter will solidify into a beautiful green layer on top, and the excess water (which pulled out the gross plant bits) will settle underneath.
- Harvesting the Gold: Once fully solid, use a knife to gently separate the hard butter disc from the container. Lift it out and discard the watery, dark liquid below. You now have pure, potent cannabutter!
The Final Spell: Labeling and Dosing
Before you start whipping up those “Black Magic” Brownies or “Ghostly” Shortbread, you need to understand your potency.
Warning: Edibles are incredibly individualized. Always start with a small, test dose (a quarter or half teaspoon) of the finished butter, then wait at least two hours before deciding whether to increase.
- Storage: Your DIY Cannabutter will last about 2-3 weeks in an airtight container in the fridge, or up to six months in the freezer.
- The Crucial Step: LABEL IT! Put a skull-and-crossbones sticker on it if you have to, but make sure everyone knows exactly what this butter is. Don’t ruin Uncle Steve’s diet by accidentally getting him interstellar.
Now you’re ready. You’ve got high-quality, perfectly infused, terpene-rich cannabutter that will make your Halloween baking legendary. Grab your favorite vape pen or roll a fattie, fire up those horror flicks, and get ready to create some genuinely Dank-O-Lantern treats. Happy haunting!